

 Facebook
 X
X
 Pinterest
 Copy Link
If you’re like me and have been home so much more in recent years, you may have started noticing all the little blemishes and issues on your walls too! What better time to freshen up your home with a little paint? Painting is one of the least expensive ways to help your home look updated or even change the look or style of your house. I decided to start with our hallway.
Over the years many little dirty fingers, crayons, and other mysterious things have ended up on our hallway walls. I started by taking everything down, wiping the walls and puttying any dinks or holes.

This awesome spackle goes on pink, makes it super easy to see where it went! Once the spackle has turned white indicating it’s dry, you can gently sand the area to smooth things out. If you had to cover a larger area, you might need to spray some spray texture over to keep the wall looking uniform. The key to spraying texture is to shake the can well and to lightly do a sweeping motion wider than your target area. Once the texture dries, you can always come back and lightly sand down if it’s too much texture or layer more on if you need more texture. I can’t find the can of what I used, but if I do, I’ll add a picture!
Once your walls are prepped it’s time for the fun part, painting!! I find trimming out or edging a wall is the hardest part of painting, so I start with that first. Edging along the ceiling, baseboards, molding, and finishing out corners is the nitty gritty part, but I have a couple of tools that make it easier! First, my all time favorite paint brush. I love the angled bristles that are so easy to maneuver and the short handle makes getting into tight places with precision easier!
Next is my handy, dandy paint cup! I love the portability of the cup including the nifty handle, the fact that it doesn’t hold a lot of paint, so you aren’t wasting paint, and the best feature…the MAGNET!! It holds your paint brush to the side so your bristles aren’t stuck in the paint and you don’t have to worry about knocking it off or it dripping anywhere. Sheer genius!!
I am not a fan of painter’s tape. I know, some love it, but I feel like no mater how careful I am or how straight I apply it, there are always issues!! So I rather do the “slow and steady wins the race” approach. I just edge carefully, making sure to not have too much paint on my brush and wipe up any mishaps quickly. I angle the brush against the wall and have found it generally does the trick just fine!
The final step is to roller paint the main sections. Depending on the size of the wall you can use a standard size roller, or a mini roller. In this instance I chose a small roller due the variety of space sizes I would be dealing with. I am a fan of paint tray liners because of the ease of cleanup. They tend to be anywhere from $1-$3 and are absolutely worth it!
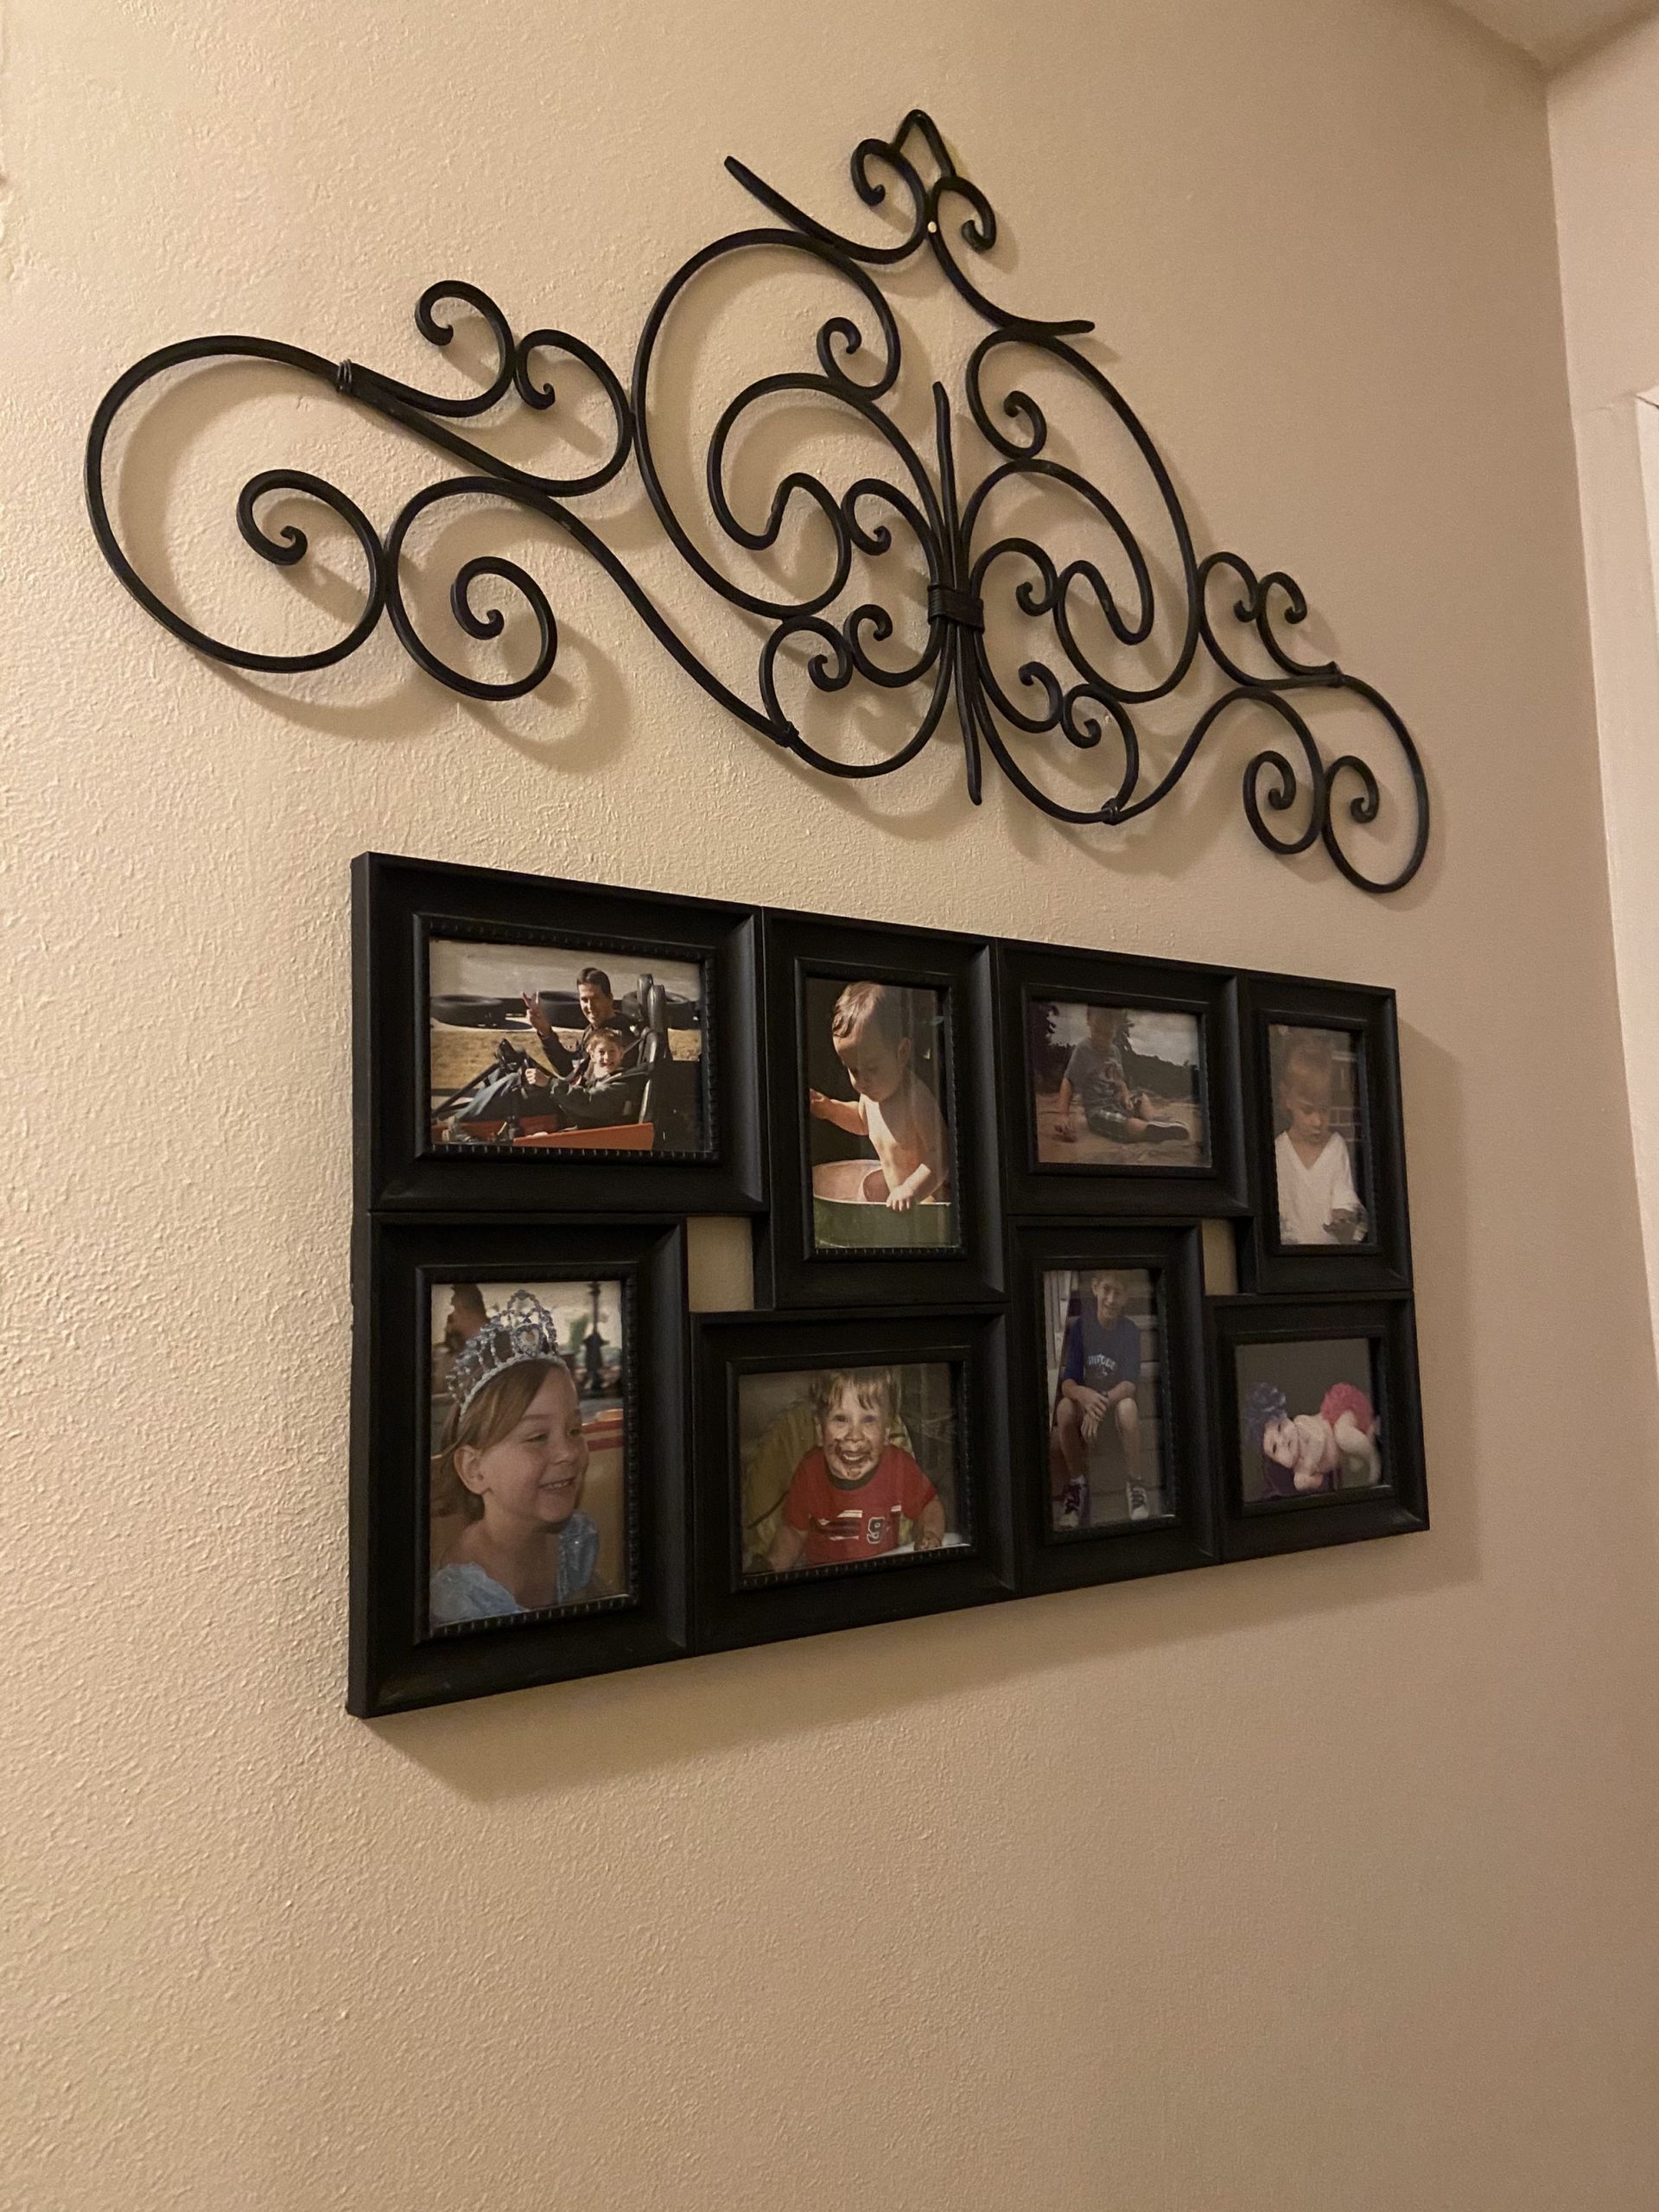
Finally, you take a step back and enjoy the blemish free creation you have made, at least until you let your children return! 😂😂😂 What project should I start next…


